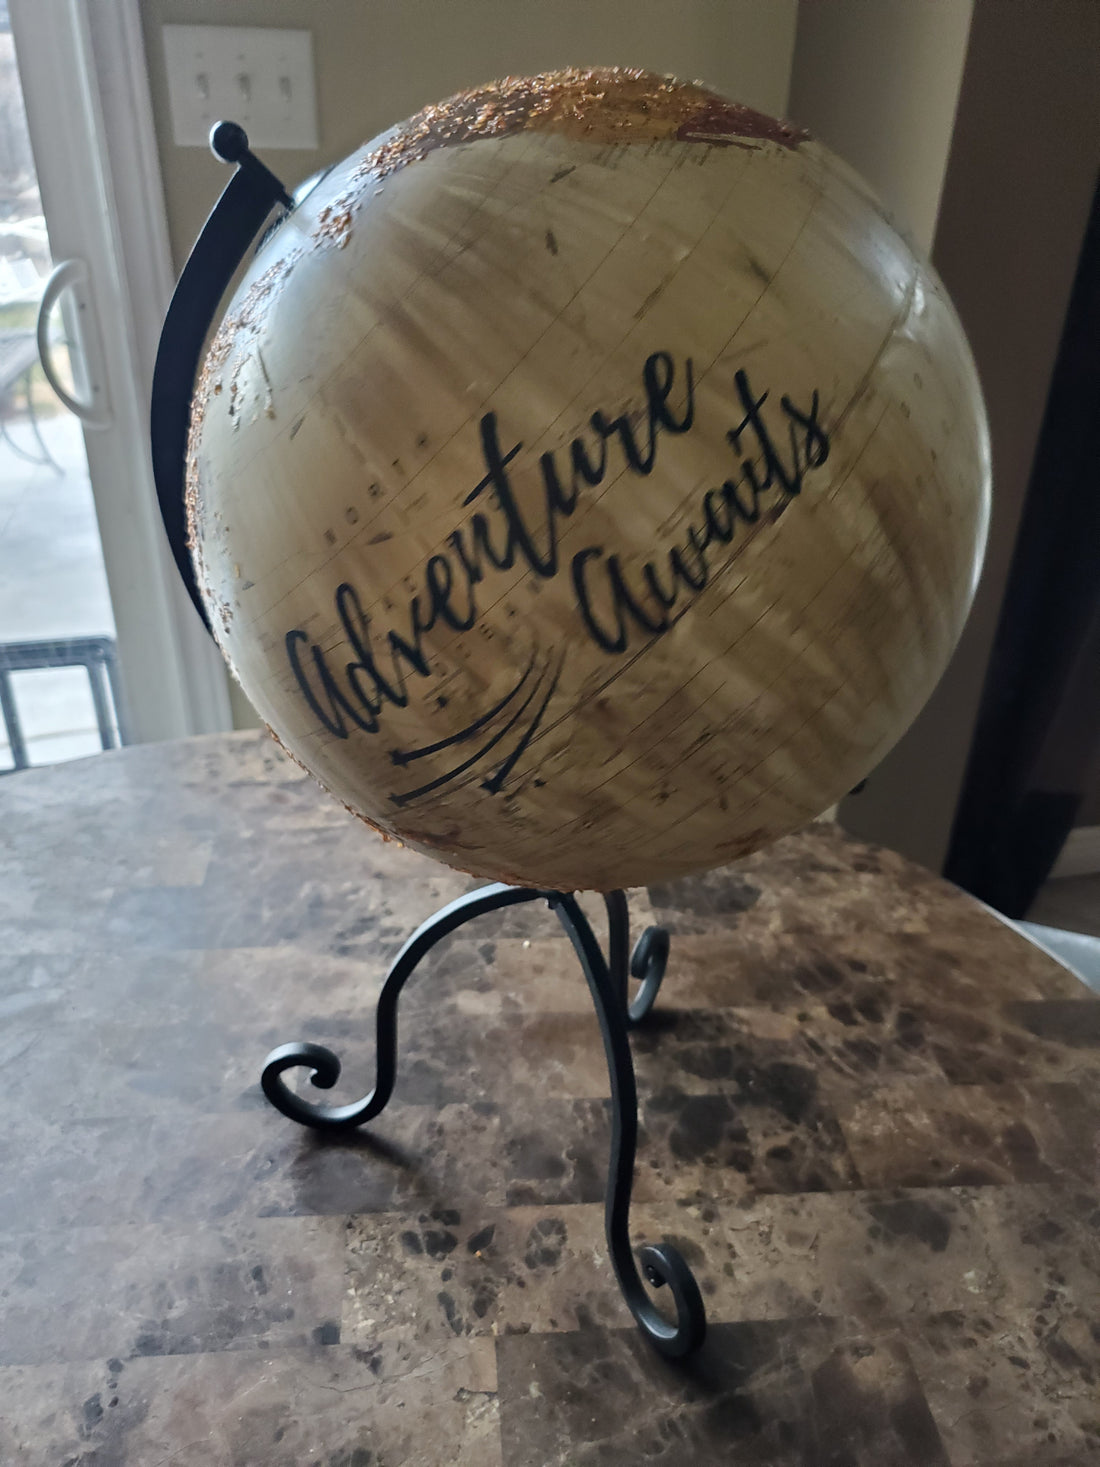
This Adventure Awaits Globe was a fun one!

I love thrift shopping now and again when opportunity arises. It gives me a chance to try out new things and not worry too much how they are going to turn out (just in case). Lately, I have seen some amazing globe transformations on Pinterest and new when I saw this one I had to give this a try. The map was worn down a bit but looked repairable, but the stand itself was really nice so thought I would give it a go.

This map I repaired with a bit of Gator Hide to re-stick it down where it was torn. Just in a couple of places. I just painted it on and let it dry for 15min. You could also use modge podge if you had some.

Then I pulled out some Van Dyke Glaze, Gator Hide and Glass Glitter. I thought the Van Dyke Glaze would give it an Old World look and blend well with the brown and yellow tones of the globe. It also will allow all the countries to show through as it's fairly transparent.

Here's a picture of the Globe half glazed. I used a small artist brush for this so I could drag it from top to bottom to leaves vertical lines. It was only about 1cm wide. I dragged the brush over already glazed areas so it looked old and weathered an uneven everywhere.

Once I was done I let it dry 30 min and then went back and touched up here and there where I wanted it darker.
Next I used a paper cup and poured in some Gater Hide and mixed it with a tablespoon of our European Glass Glitter in Burnished Copper.

Next I quickly painted on the mix on the continents of the world using the same small 1 cm brush. This really sparkles but does not show as well in the pictures as in person. The sparkles added interest and I liked you can still read the names of the countries through the sparkles.


Then I decided to use my Cricut Maker to make it a bit more interesting. I've seen globes that said Joy to the World, The Whole World in his Hands...a whole bunch of sayings but I wanted it to work all year not just for the holidays so I designed up Adventure Awaits. Printed it off in Matte Black and applied it. I was happy with the results as it tied in well with the Iron Stand. I have added a FREE download of this design in jpeg for your use if your interested. You will find it at www.diysupplies.ca under the Download Color Charts & Info Heading.


Hope you enjoyed!
Andrea Hinz

